XP Cloud:Payment Configurations
- X-Payments Cloud: General information
- Get Started with X-Payments Cloud
- Two-factor User Authentication
- General Settings
- Payment Configurations
- Services
- Users
- User Interface
- Payments
- Payments List
- Payment Statuses
- Search for Payments
- View the Details of a Payment
- Delete a Payment
- Auth and Capture (Capturing Funds)
- Void an Authorization
- Issue a Refund
- Manage High Risk Transactions
- Emulate Transactions
- Clear Cardholder Data
- Tokenization and Re-Use of Saved Cards
- Delayed Payment Feature
- Supported Payment Gateways
- What's New in X-Payments Cloud
An important part of configuring X-Payments Cloud is connecting it to the payment processor that you will use for payments and configuring your payment processing preferences for this connection. We call this creating a payment configuration. If you are going to use more than one payment processor, you will need to create a separate payment configuration for each of them. If you are going to use the same payment processor but with different settings, you will also need to create a separate payment configuration for each case. For example, if you need to be able to accept payments in different currencies, you will need a separate payment configuration for each currency.
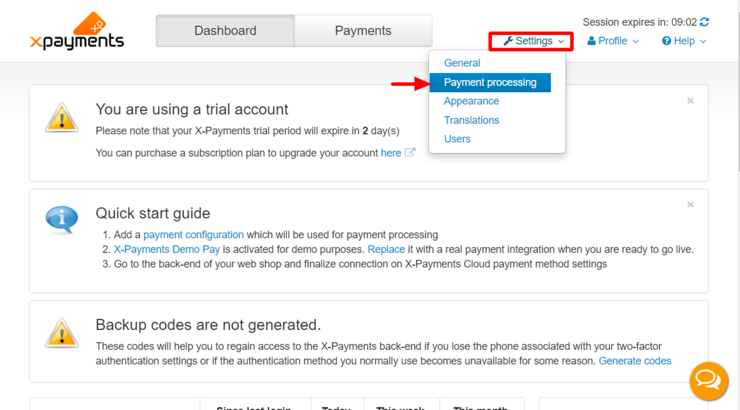
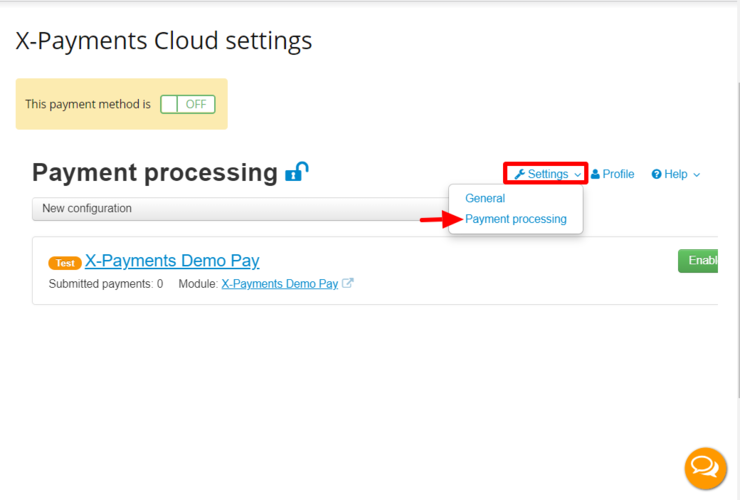
In X-Payments Cloud, payment configurations can be created and managed via the Payment processing page (Settings -> Payment processing). This page is available from both the X-Payments Cloud standalone admin panel:
and the X-Payments Cloud admin panel as accessed from within the admin panel of your online store:
Before you can start accepting and processing payments from your online store customers via X-Payments Cloud, you will need to add and enable at least one payment configuration.
To view and manage all your payment configurations, use the Payment Configurations List view.
For information on how to change a payment configuration after it has been added, see:
- Viewing the Details of a Payment Configuration
- Enabling/Disabling a Payment Configuration
- Editing the Details of a Payment Configuration
If you no longer need a payment configuration, you can delete it.

